aaPanel is a free, open-source web hosting control panel designed to simplify the management and control of web services on your Linux server. It provides an intuitive graphical interface and a wide range of features for server administration, including user account management, and the installation and configuration of popular web applications like Apache, Nginx, PHP, MySQL, FTP, and more.
Why use aaPanel?
- User-friendly: The intuitive interface makes it easy for beginners to get started.
- Convenient: Manage multiple web services from a central location.
- Versatile: Supports a wide variety of popular web applications.
- Performance-oriented: Optimize server configurations for faster website speeds.
Install aaPanel and Tools for Efficient Web Server Management
Step 1: Prepare Your Server
Before you begin, make sure you have:
- A Linux VPS server (Ubuntu 20.04/22.04/24.04 or Debian 10/11/12).
- Access the server using SSH with root or sudo privileges.
Important: If you already have Nginx, Apache, PHP, or MySQL installed, remove them to avoid conflicts. Remember to back up any important data before removing!
Step 2: Install aaPanel
Open your server’s terminal and run the following command to download and execute the aaPanel installation script:
wget -O install.sh http://www.aapanel.com/script/install-ubuntu_6.0_en.sh && sudo bash install.sh aapanel
During the installation process, you’ll be asked to confirm certain details like SSL permissions and directory paths. Follow the on-screen instructions and enter “yes” or “y” when prompted.
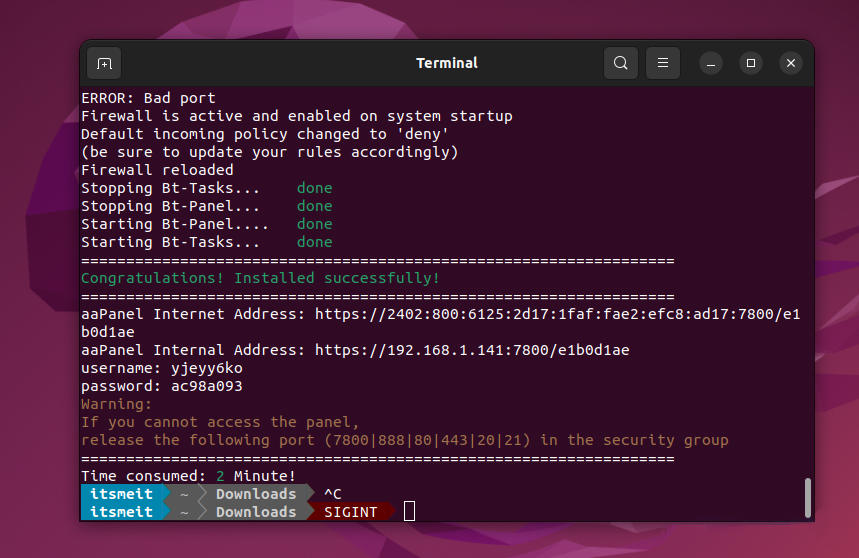
Once the installation is complete, you’ll receive a URL to access the aaPanel admin dashboard, as shown in the screenshot above.
Step 3: Log In to aaPanel
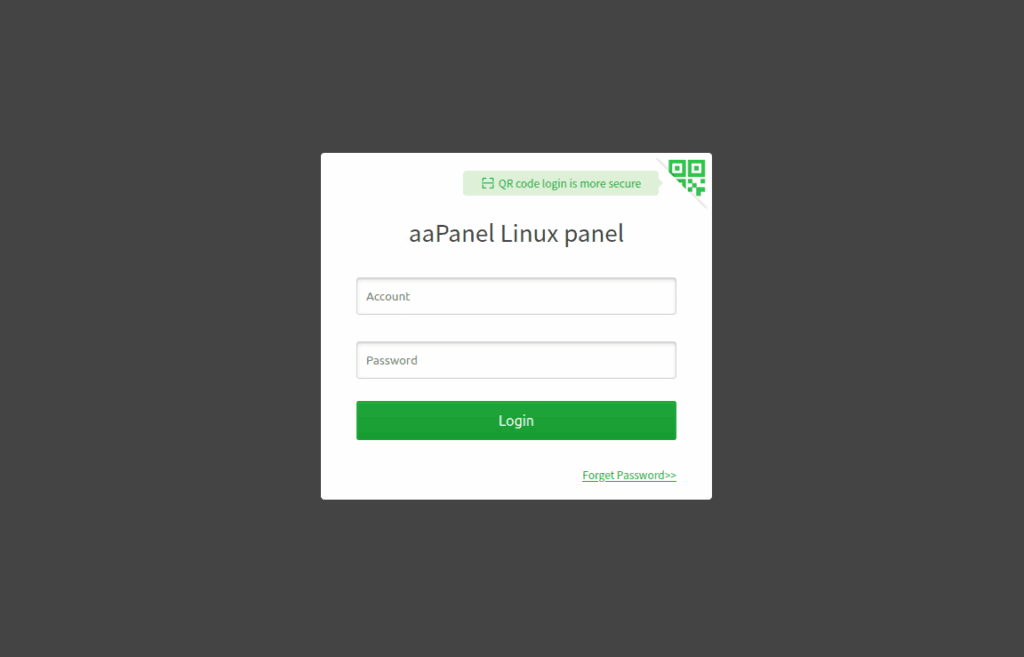
Open your web browser and visit the provided URL (usually in the format https://[your_server_IP_address]:7800/). Log in using the username and password provided after installation.
Step 4: Install Nginx or Apache and PHP + MYSQL
Upon your first login, aaPanel will recommend installing essential tools like Nginx or Apache (choose one), MariaDB (MySQL), PHP, and phpMyAdmin. You can select the “LNMP Recommended” option to install them all at once.
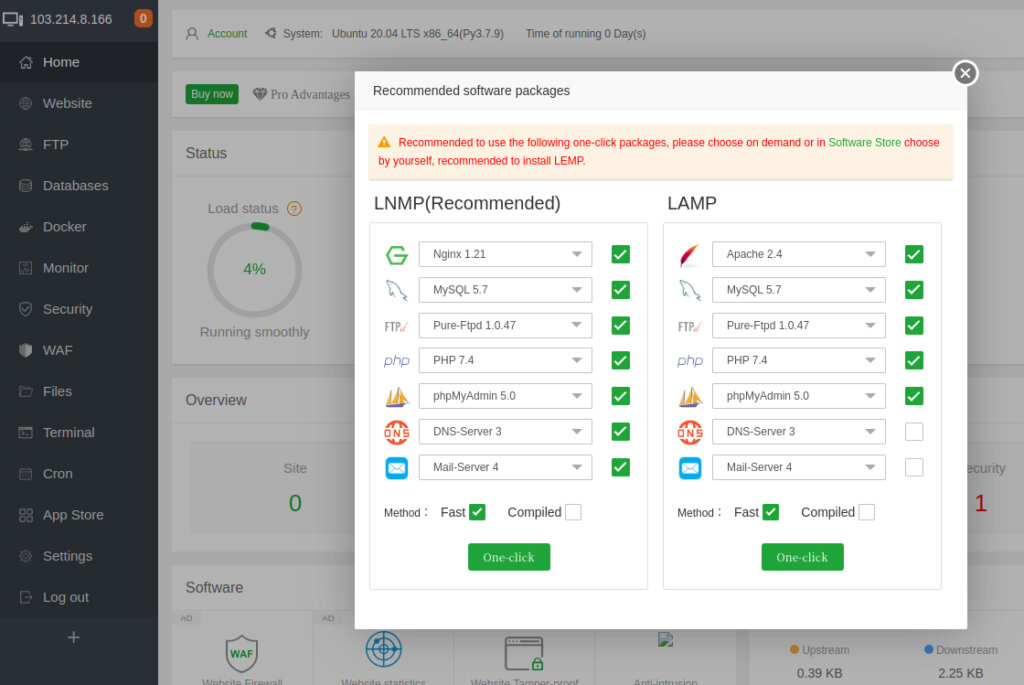
The installation process may take a few minutes. If you encounter any issues, you can restart aaPanel by clicking “Home” -> “Restart” in the top-right corner.
Start Using aaPanel
Congratulations! You’ve successfully installed aaPanel. Now you can explore its features and start managing your server with ease. Some of the key functions include:
- Website Management: Create, configure, and manage websites.
- Database Management: Create, manage, and back up databases.
- FTP Management: Create FTP accounts for file uploads and downloads.
- Server Monitoring: Monitor server performance and resource usage.
With aaPanel, managing your Linux server becomes simple and efficient. Now that you have aaPanel installed, are you ready to create your first WordPress website? Check out our detailed guide on how to install WordPress using aaPanel to get started!


