If you’re looking to give your Ubuntu desktop a Windows 11 makeover, you’re in the right place. This comprehensive guide will provide you with step-by-step instructions on how to achieve this, even if you’re new to Ubuntu.
Step-by-step: Install Windows 11 theme on Ubuntu 22.04 LTS
First, we’ll download the required tools by cloning the repository using GIT. If you have GIT installed, you can skip this step.
To achieve the Windows 11 look on Ubuntu 22.04, we also need to install the Gnome Tweak Tool and the shell package. Use the following commands to install them.
sudo apt install git
sudo apt install gnome-shell-extension-manager gnome-shell-extensions gnome-shell-extension-prefs
Step 1: Install Windows 11 icon on Ubuntu 22.04
cd /tmp
git clone https://github.com/yeyushengfan258/Win11-icon-theme.git
cd Win11-icon-theme/
./install.sh -a
Step 2: Install Windows 11 theme on Ubuntu 22.04
cd /tmp
git clone https://github.com/vinceliuice/Fluent-gtk-theme.git
cd Fluent-gtk-theme
./install.sh
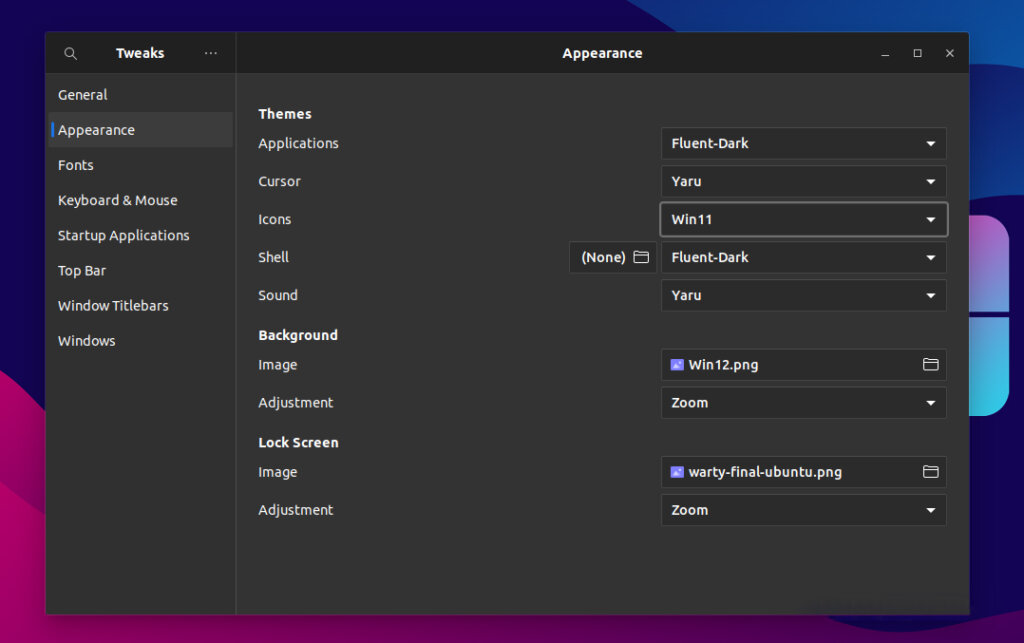
After successfully installing the Windows 11 icon and theme on Ubuntu 22.04, you can now locate and open the “Tweak” application. Once opened, select “Icon and Applications” as shown in the screenshot below (provided by We). Feel free to customize it according to your preferences.
Step 3: Download Windows 11 wallpaper and install Font
When installing Windows 11 theme on Ubuntu 22.04, images and fonts are indispensable. To download Windows 11 FULL HD 4K wallpaper you can click on the link to download Windows 11 Wallpaper light background or Windows 11 Wallpaper dark .
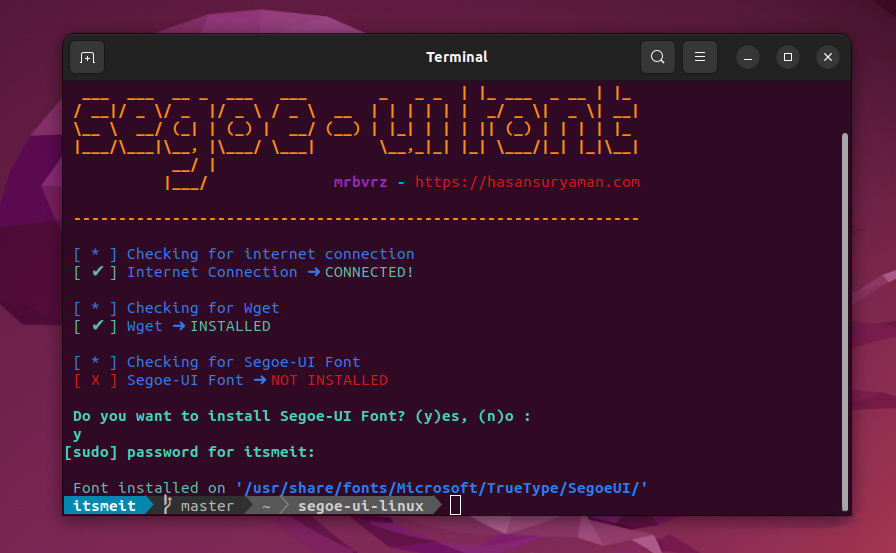
Next, to install Fonts Windows 11 on Ubuntu 22.04 you can run the following commands in turn:
cd /tmp
git clone https://github.com/mrbvrz/segoe-ui-linux.git
cd segoe-ui-linux
./install.sh
Step 4: Open Extension Manager
Search for “extensions” in the menu and open the “Extension Manager” tool. Like the screenshot:

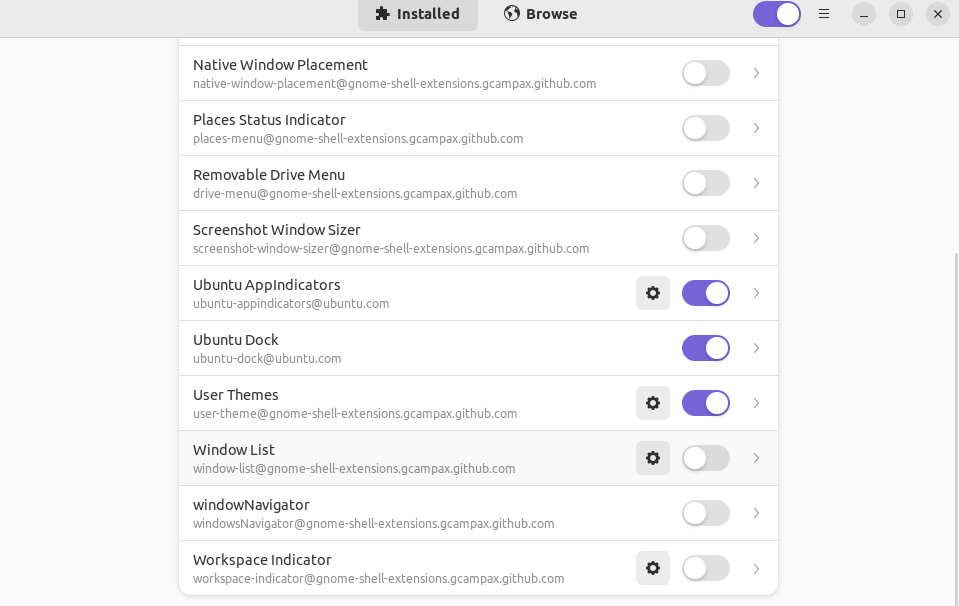
Continue to find and enable “User Themes”:
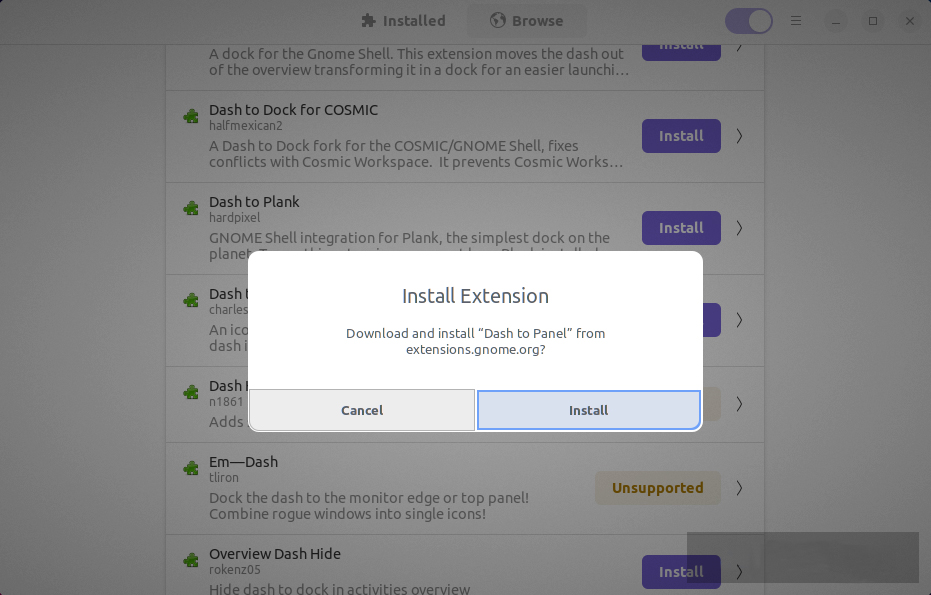
Continue to click on the “Browse” tab, find and install 2 Extensions, “Dash to panel” and “Arcmenu”.
Click on “Installed” tab after “dash to panel” and “Arcmenu” have been successfully installed.
Customize Dash to panel:
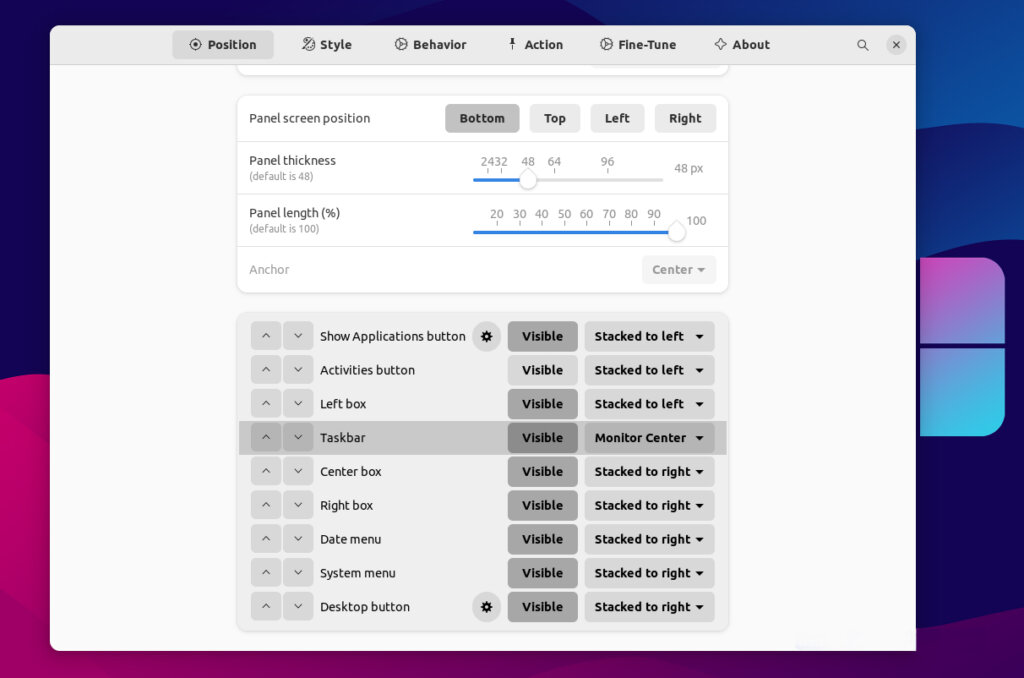
Then find and click to open “Dash to Panel.” If it is turned off, continue by clicking on the settings icon (a gear-shaped circle). Here, you can customize and install the Windows 11 theme on Ubuntu 22.04 to make it look like Windows 11. You can choose modes such as showing buttons, icons, or adjusting left, center, or right alignment.
In this tutorial we made the following adjustments::
- Left box: Monitor Center
- Taskbar: Monitor Center
- Show Applications button: Hide
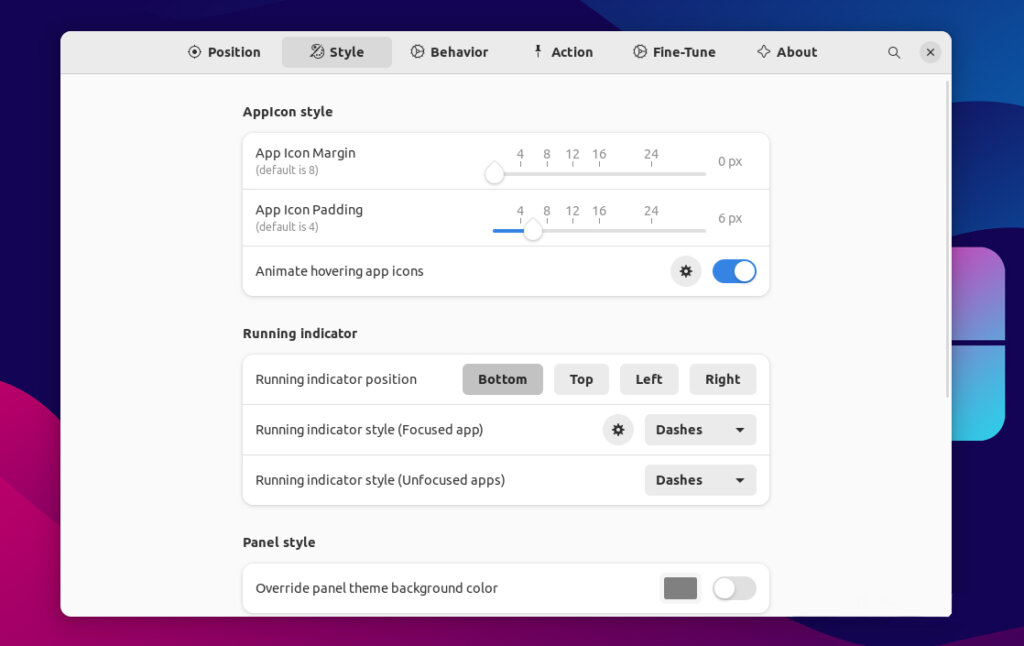
Switch to the “Style” tab here you can adjust the font size and spacing for the Icons.
Switch to the “Behavior” find “Disable show overview on startup”.
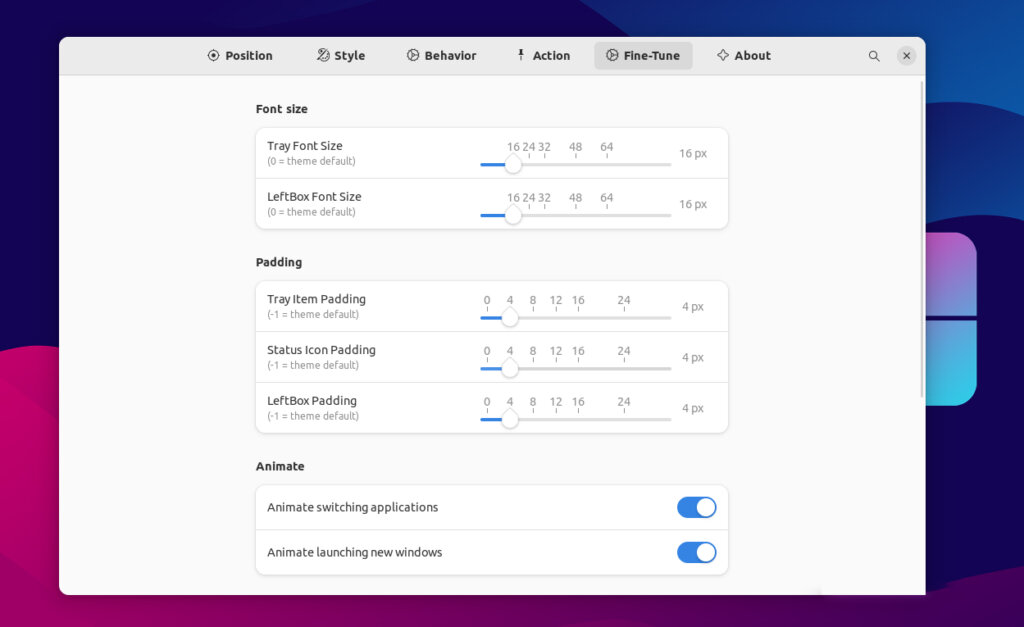
Switch to the “Fine-Tune” tab where you can adjust the font size and spacing for the Fonts.
Customize Arc menu:
Reopen the Extension Manager, go to the “Installed” tab, and enable the “Arc menu” extension if it’s not already enabled.
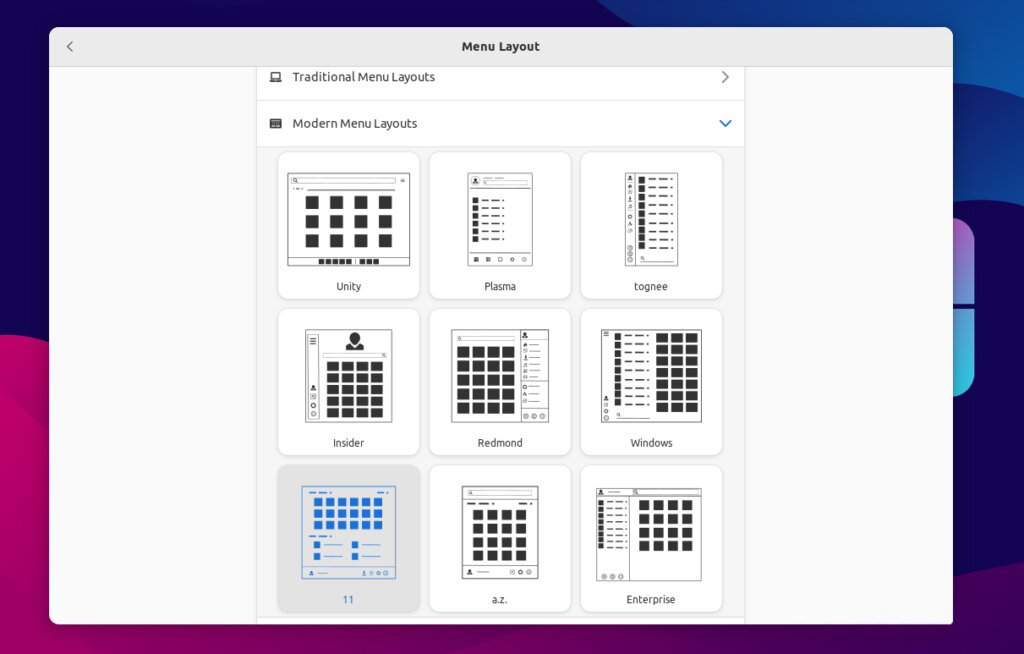
Click on the settings icon (circular gear) then select the tab “Menu -> Menu layout -> Modern Menu Layout” and select “Enterprise” or any layout you like.
Go back and select “Menu visual Appearance,” then adjust the “Menu size” according to your preference, just like in the screenshot provided by We.
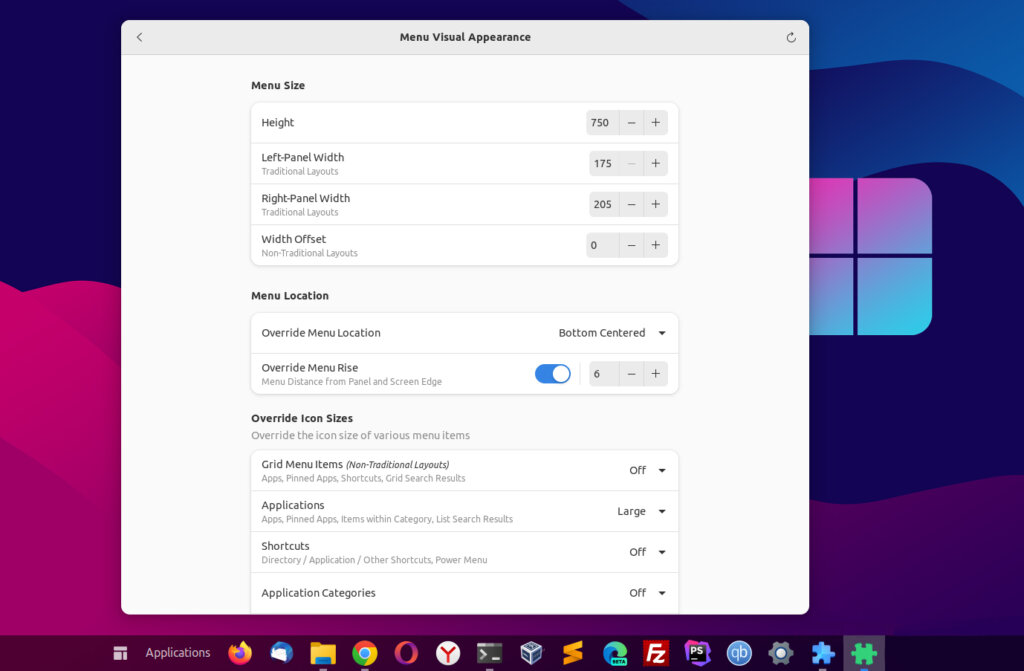
Go back to the Arc menu settings, select the “Fine Tune” tab, and disable the “Alphabetize ‘All Programs’ Category” option.
Tab “Menu button”: Adjust padding to 5, Icon size 34. Then click “Browser” and select 1 Icon you like. Or choose “Custom Icon” and download the logo-windows11.png file instead.
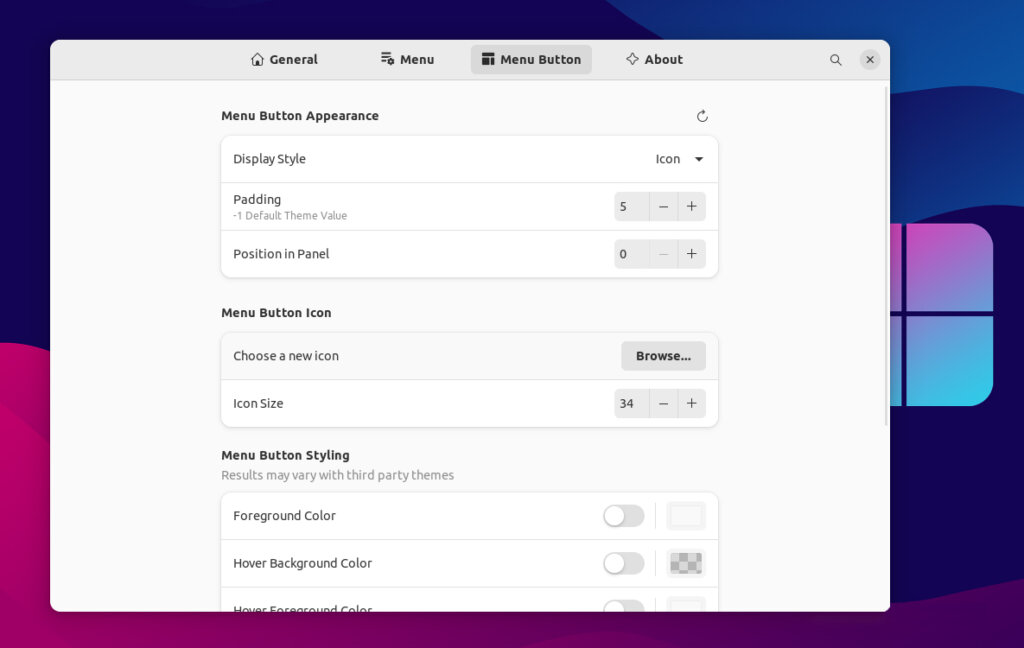
And there you have it! Your Ubuntu desktop now has a fresh Windows 11-inspired look.
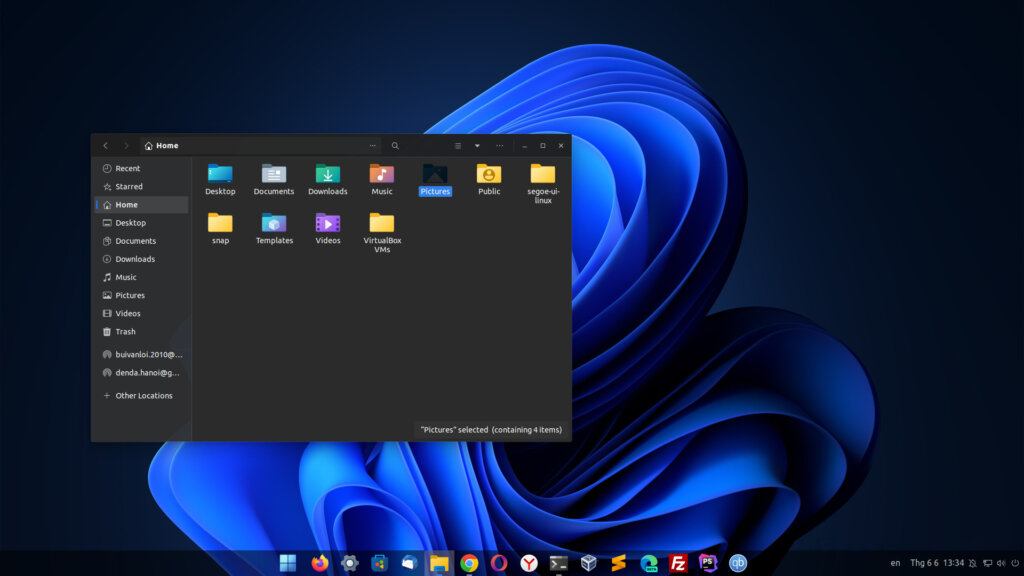
Remember, customization is key! Check out the many other beautiful themes available for Ubuntu and make your desktop truly your own.


