VirtualBox 7.1 is a powerful and versatile virtualization tool that allows users to run multiple operating systems on a single machine. In this guide, we’ll walk you through the steps to install VirtualBox 7.1 on Ubuntu 24.04 LTS, ensuring you can set up virtual environments with ease.
Step 1: Import VirtualBox’s Repo GPG Key
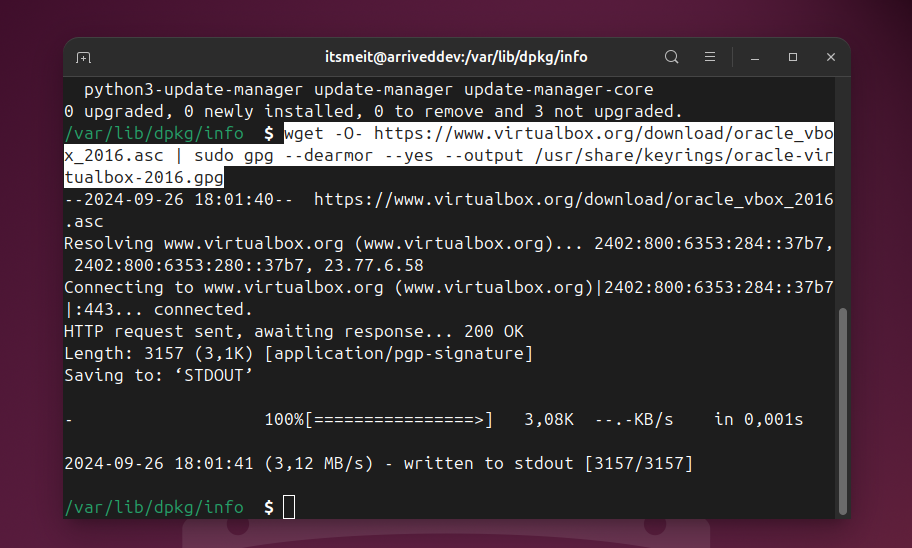
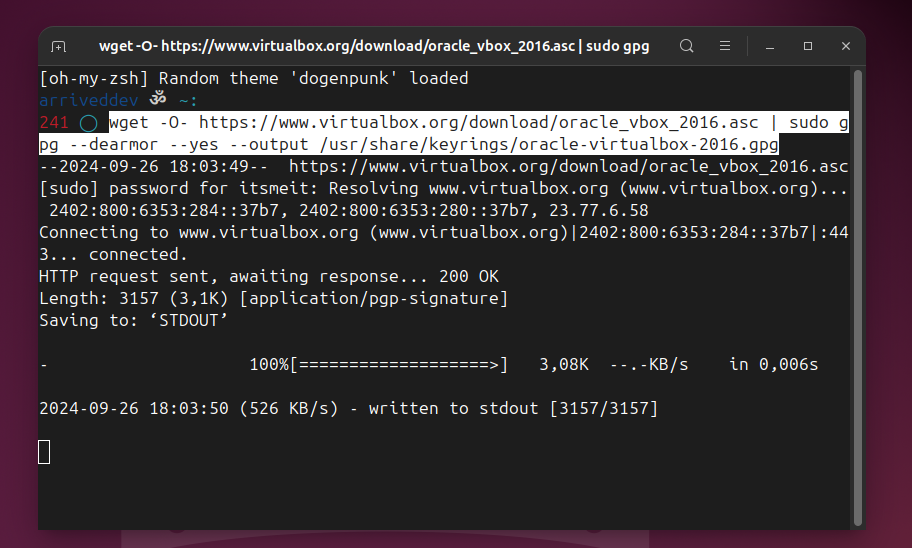
First, we’ll import the GPG key from the VirtualBox repository to ensure the authenticity of the software we install from it.
wget -O- https://www.virtualbox.org/download/oracle_vbox_2016.asc | sudo gpg --dearmor --yes --output /usr/share/keyrings/oracle-virtualbox-2016.gpg
Step 2: Add VirtualBox Repository
Next, we’ll add the official VirtualBox repository to our Ubuntu 22.04 system. If a new version is released, the update package will be made available with the rest of your system’s regular updates.
echo "deb [arch=amd64 signed-by=/usr/share/keyrings/oracle-virtualbox-2016.gpg] https://download.virtualbox.org/virtualbox/debian $(lsb_release -cs) contrib" | sudo tee /etc/apt/sources.list.d/virtualbox.list
Step 3: Run System Update
Before we proceed with VirtualBox installation on our Ubuntu 24.04 system, we should refresh the list of available packages. Run the below command to update the APT repositories index.
sudo apt update
Step 4: Install VirtualBox 7.1
We’re all set to install VirtualBox on our Ubuntu 24.04 system. Run the following commands:
sudo apt install virtualbox-7.1 -y
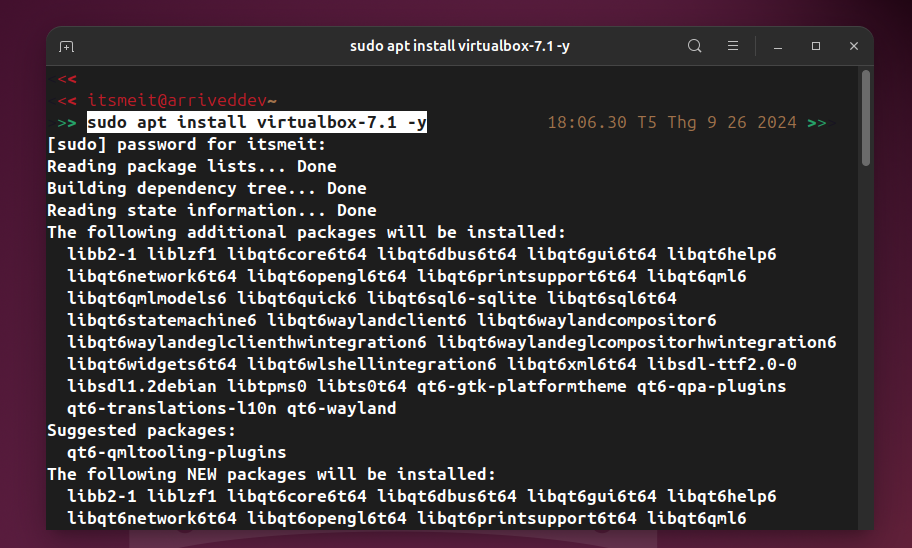
Note: VirtualBox usually adds “vboxusers” to the default configuration automatically. However, in some cases, it may not do this correctly. If this happens, you can run the following command to add a management user for VirtualBox.
sudo usermod -aG vboxusers $USER
Step 5: Open VirtualBox
Locate and open VirtualBox from the applications menu. You can right-click on its icon and select “Pin to Dock” to add it to your taskbar for quick access.

Step 6: Install VirtualBox Extension Pack
This is an optional step, but I strongly encourage it because it will make working with VirtualBox on your Ubuntu system easier and more convenient. VirtualBox Extension Pack unlocks many great features, such as:
- USB 2 and USB 3 support
- VirtualBox Remote Desktop Protocol (VRDP)
- Host webcam passthrough
- Disk image encryption with AES algorithm
- Intel PXE boot ROM
- Support for NVMe SSDs
To ensure compatibility, check your VirtualBox version before downloading the Extension Pack. Open VirtualBox, navigate to “Help” to find the version number. Then, visit the Extension Pack download page and choose the matching version. The file will be named something like “Oracle_VirtualBox_Extension_Pack-xx.vbox-extpack”.
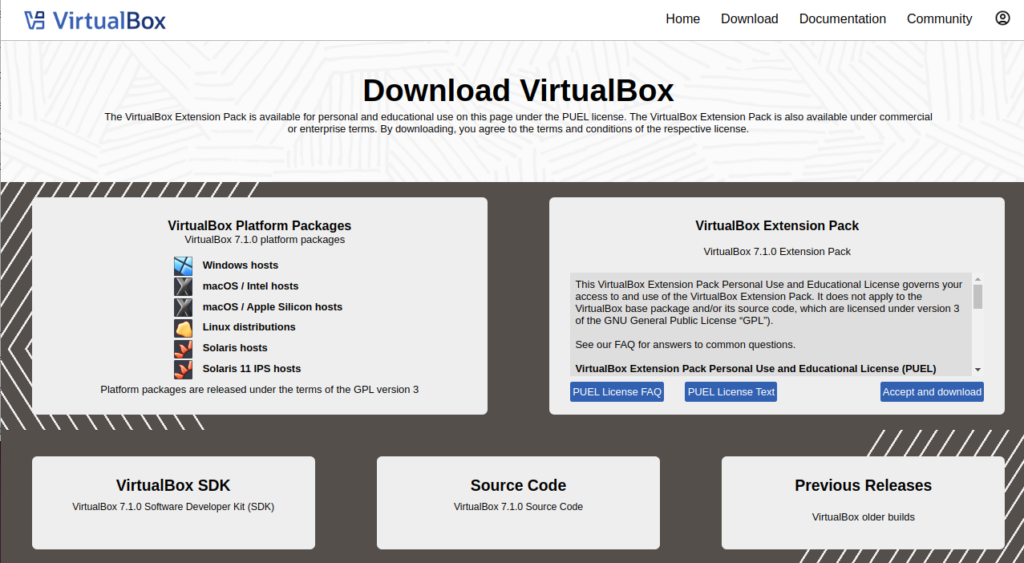
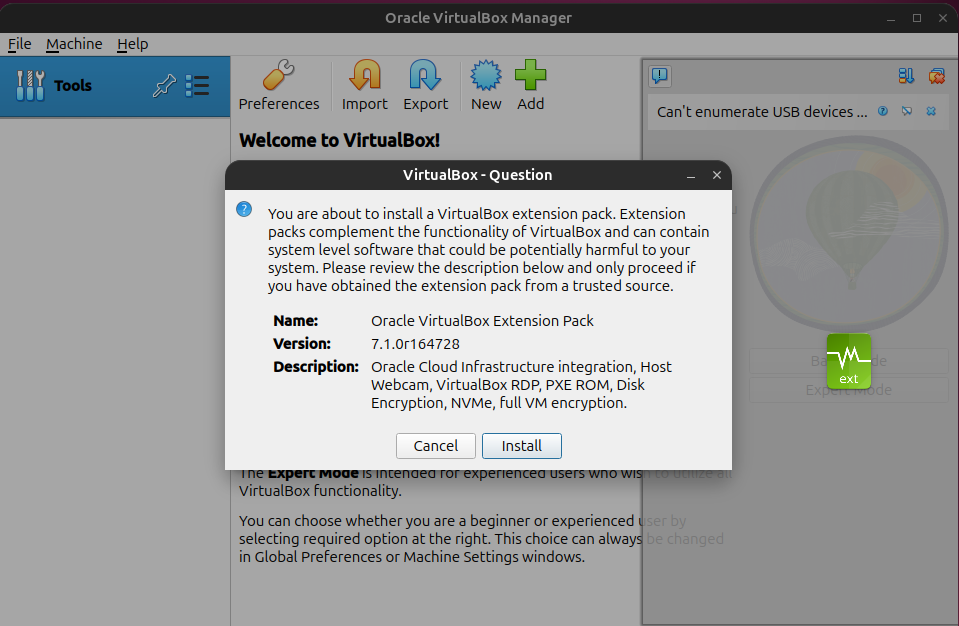
Now, simply drag and drop the downloaded “Extension Pack” file onto the open VirtualBox window. Click “Install” to confirm the installation.
With VirtualBox now installed on your Ubuntu 24.04 system, you’ve unlocked the power of virtualization! Explore different operating systems, test applications in a safe environment, and expand your technical skills. If you’re looking for more tips and tricks on using VirtualBox effectively, head over to myfor a collection of in-depth guides.


