Sublime Text 3 is a popular code editor known for its speed, sleek interface, and powerful features. This guide provides a simple, step-by-step walkthrough for installing it on Ubuntu 22.04/24.04 LTS.

Step 1. Download and install the deb file Sublime text 3
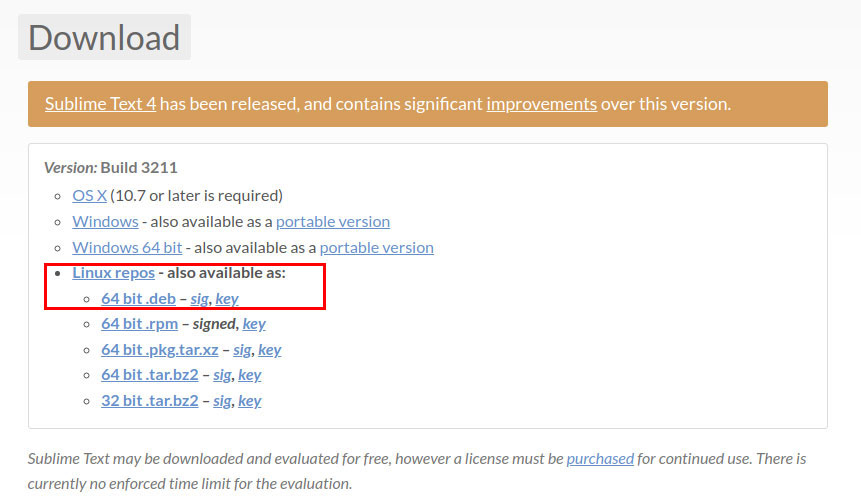
First, go to the link https://www.sublimetext.com/3, then download the 64-bit (Linux).deb file.

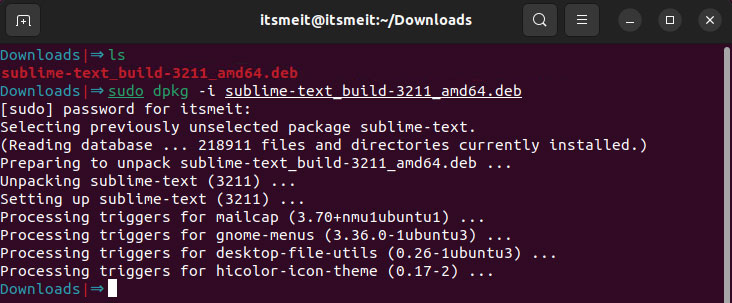
Next, navigate to the ~/Downloads folder by running the following command in the Terminal:
cd ~/Downloads
ls
sudo dpkg -i sublime-text_build-3211_amd64.deb

After completing the installation, you can find sublime text in the search menu. Click Add to favorites to add icons to the taskbar.
Step 2. Activate Sublime text 3.2.2 License key
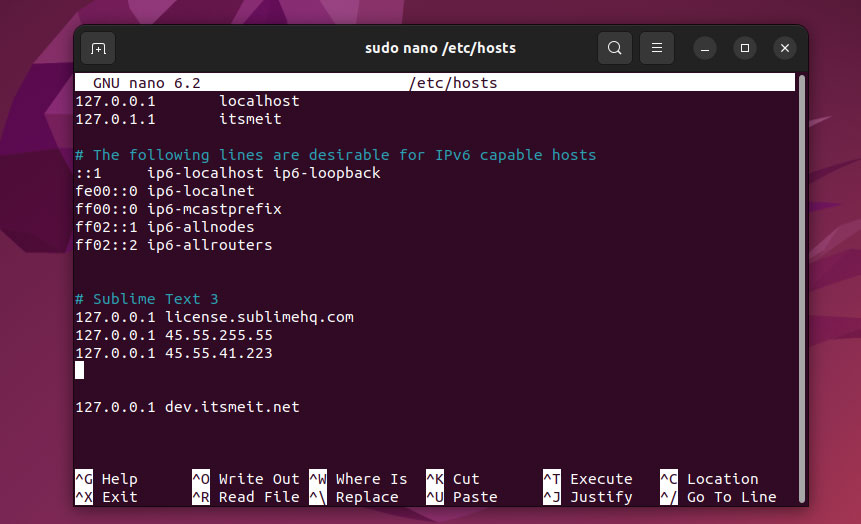
Open the file /etc/hosts and add the following content:
# Sublime Text 3
127.0.0.1 license.sublimehq.com
127.0.0.1 45.55.255.55
127.0.0.1 45.55.41.22

Press Ctrl + X, select Y to save the file.
Open Sublime text 3, Click help -> Enter license and enter your activation code. You can find the sublime text 3 activation code here.
With Sublime Text 3 installed, you’ve got a blazing-fast code editor with extensive customization options, perfect for developers who want a streamlined and efficient workflow. Be sure to explore Package Control to discover plugins that can supercharge your coding experience.


