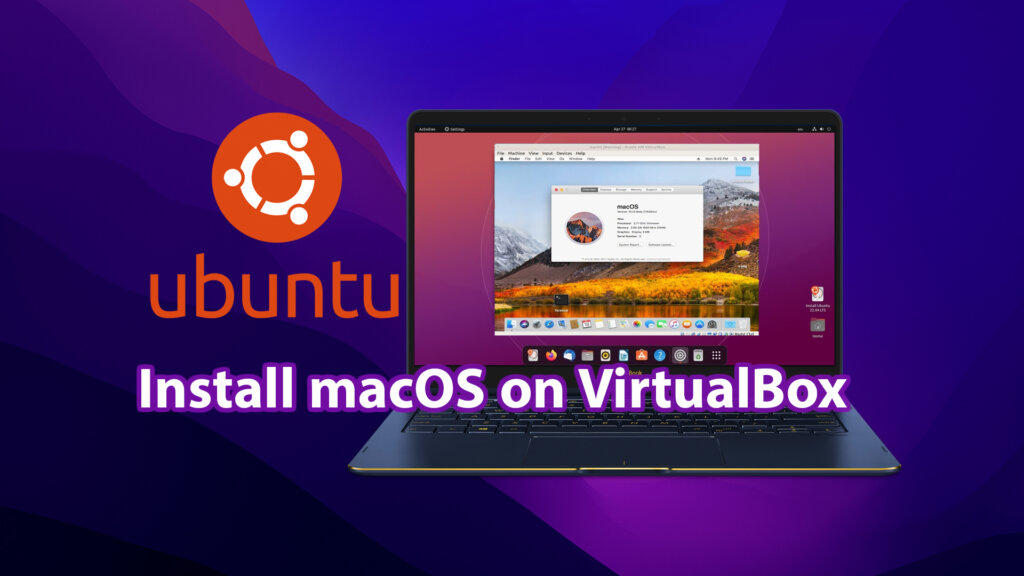
Want to experience the sleek macOS operating system on your Ubuntu machine? This article will guide you through the detailed and straightforward process of installing macOS on VirtualBox for Ubuntu 22.04/24.04 LTS.
Step 1: Prepare ISO file and install VirtualBox
First, install VirtualBox virtual machine software. You’ll also need an ISO file of the macOS version you want to install. Obtaining official macOS ISO files can be challenging, even for Mac users. To simplify this process, we’ve provided download links for various macOS versions, compatible with VirtualBox on Ubuntu/Linux.
- ISO download link: macOS Catalina 10.15.7 Google Drive or 5 Part (split file)
- ISO download link: macOS Catalina 10.15.7 Mediafire or 5 Part (split file)
- ISO download link: macOS Ventura 10.13 Google Drive or 3 Part (split file)
Step 2. Set up a macOS virtual machine
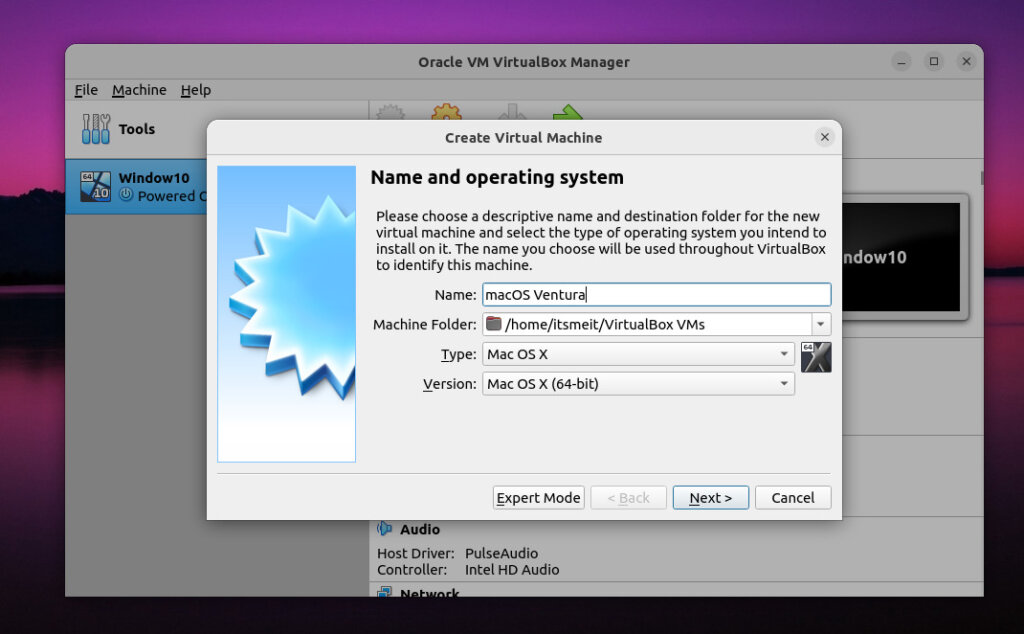
Open the installed VirtualBox and click “New” to create your new macOS virtual machine. Use the name of your macOS instance to name the virtual machine – for example, Ventura. Select type “Mac OS X” and Version “Mac OS X (64-bit),” then click Next.
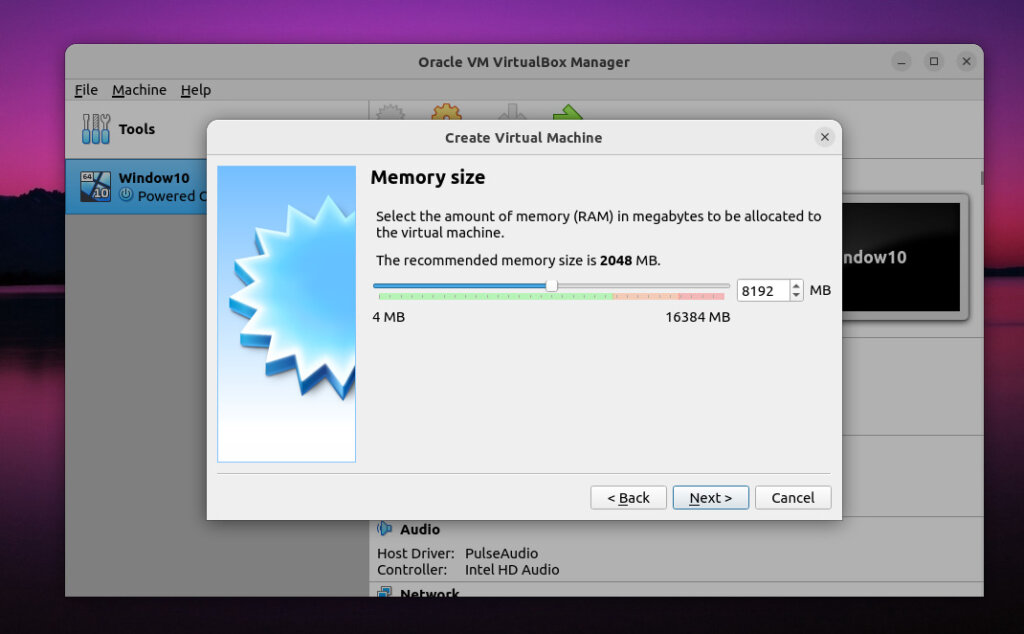
Next, allocate RAM to your virtual machine. More RAM will speed up the virtual machine, but ensure you reserve enough for your host system. macOS Ventura requires a minimum of 8GB RAM, but it’s recommended to have at least 16GB in your system to run both macOS and the host OS comfortably.
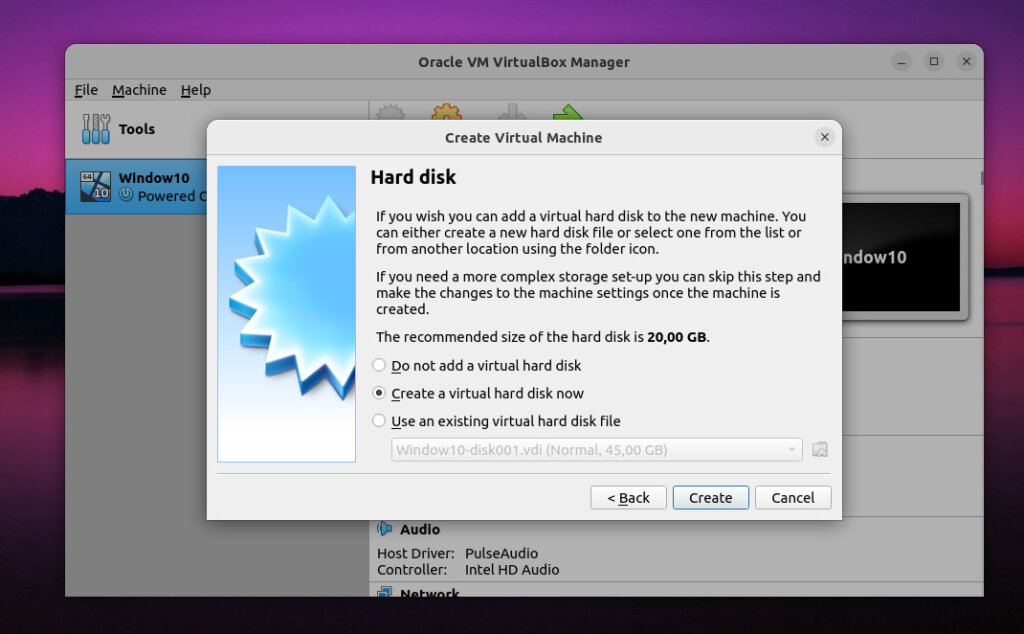
Continue to click Next and select Create with “Create a virtual hard disk”.
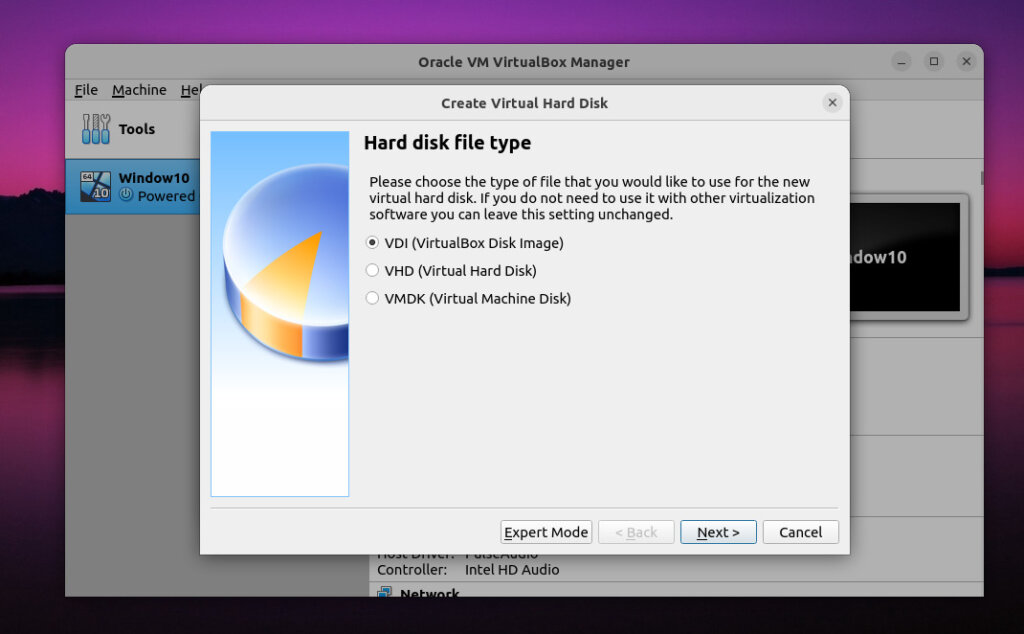
Leave the default setting of “ VDI ” selected and click “Next”.
Next, when installing macOS on VirtualBox for Ubuntu, choose between a fixed-size or dynamically allocated virtual hard drive. A dynamically allocated drive starts small and grows as needed, while a fixed-size drive immediately occupies the set space on your physical hard drive. We recommends choosing dynamically allocated.
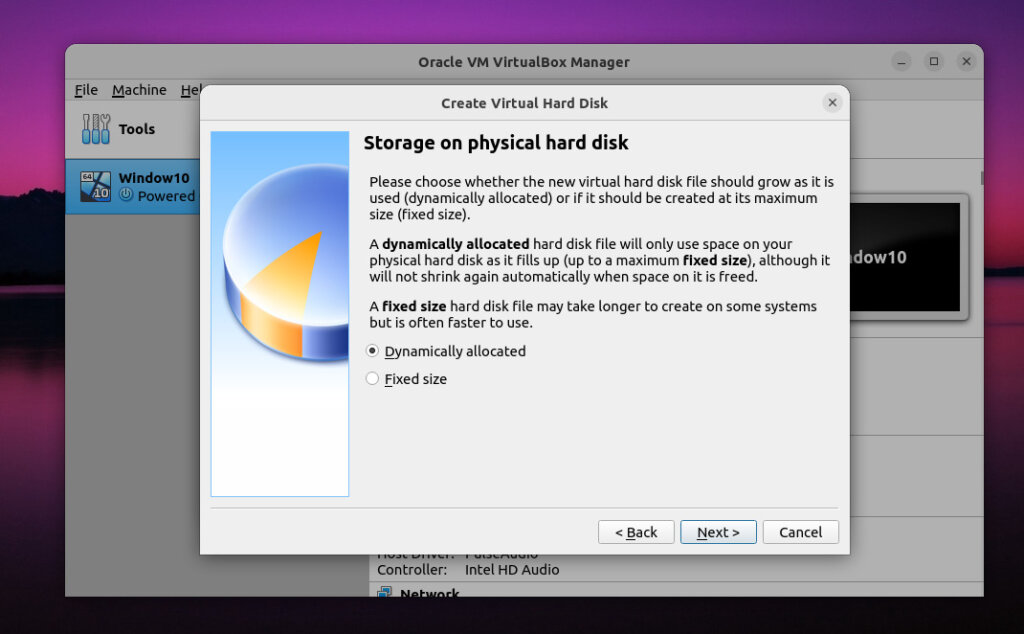
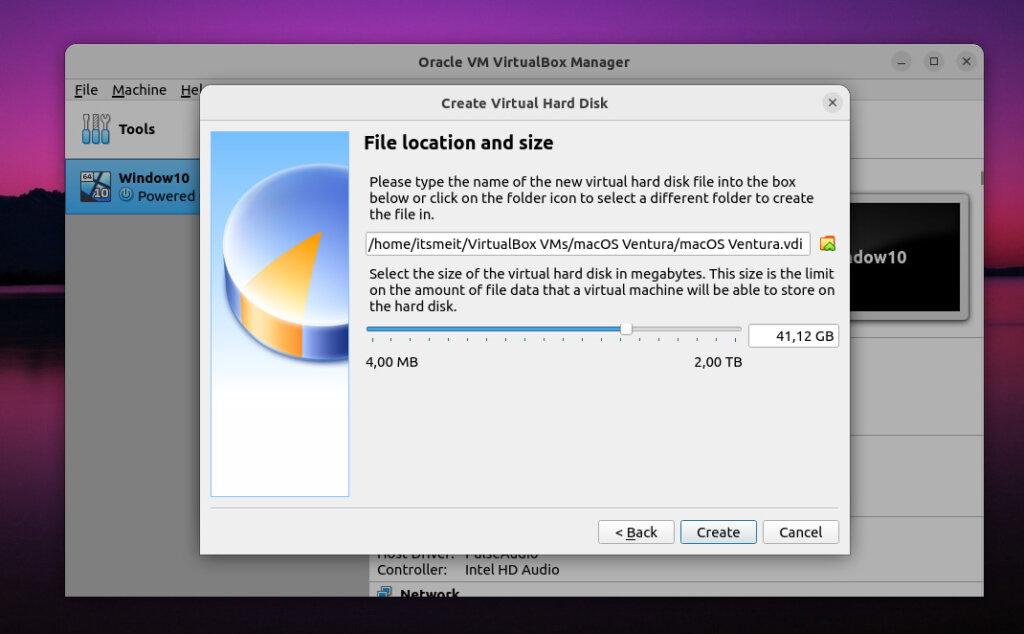
The last step in Step 2 is to set up the drive and partition size for installing macOS on VirtualBox with Ubuntu.
Step 3: Configure Virtual Hardware for macOS VM
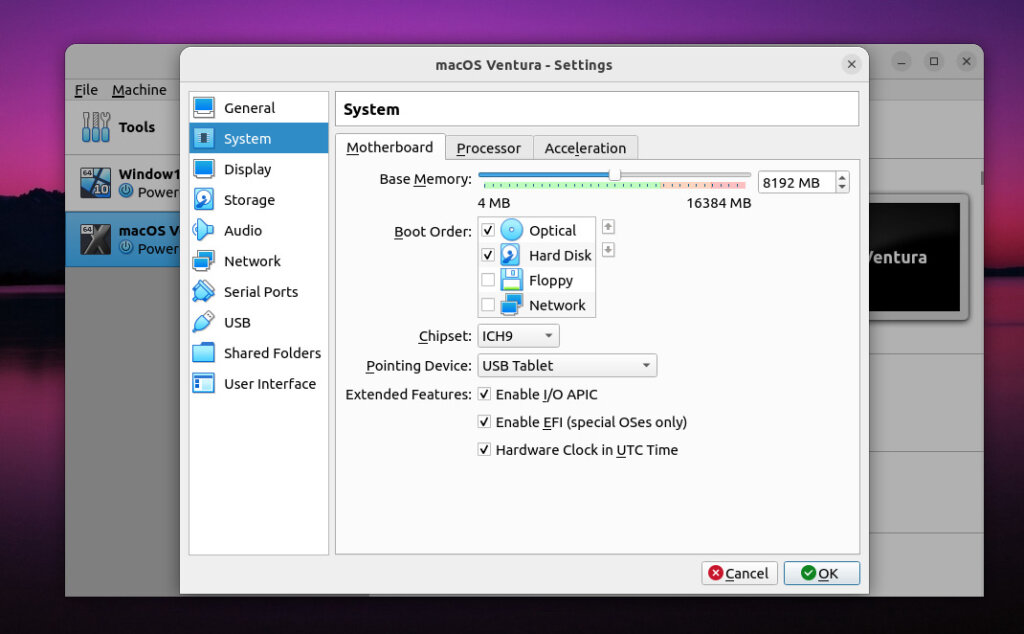
Once your virtual machine is highlighted, click the “Settings” gear. Select “System” and uncheck “Floppy” in the “Boot Order” settings. This ensures your virtual machine boots from your Ventura ISO file. Also, set “Base Memory” to the appropriate level – 2048MB minimum.
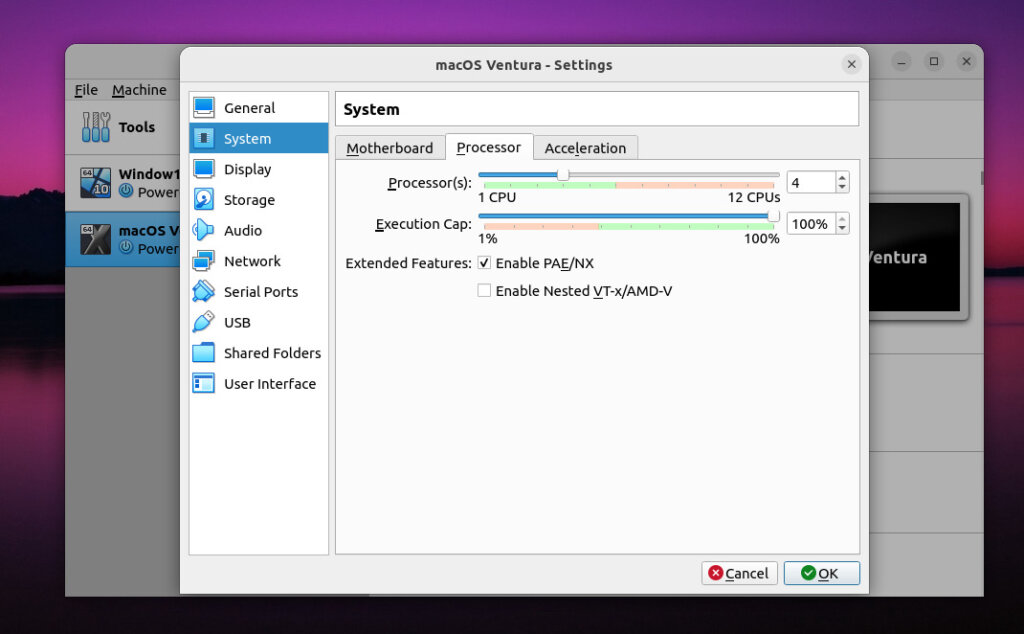
Switch to the “Processor” tab, set the number of CPUs to at least two, and ensure “Enable PAE/NX” is checked.
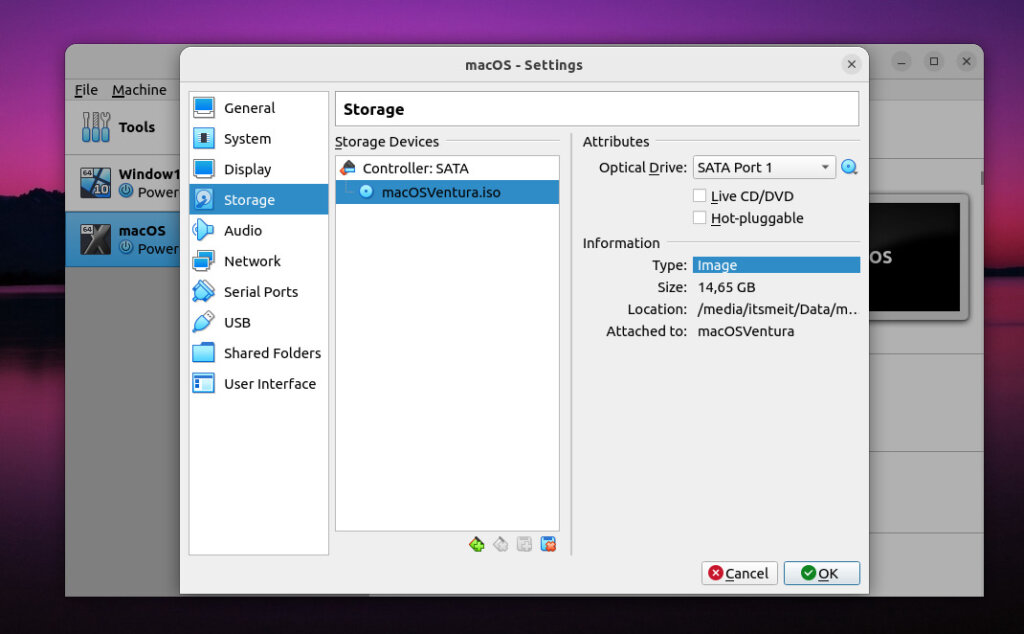
Select the “Storage” menu from the sidebar. Under “Storage Devices“, click “Empty“. Click on the blue disk icon in the top right corner of the screen and select “Choose a disk file…” to locate your ISO file. Ensure that “Use Host I/O cache” is checked. Click “OK” to save the changes.
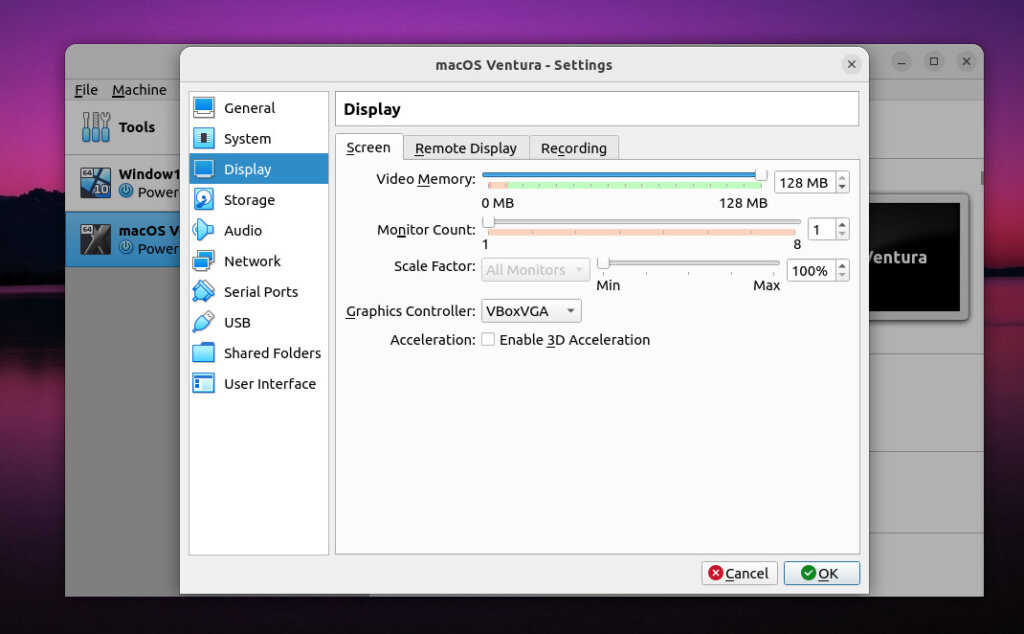
Continue with “ Display ” and set “ Video Memory ” to 128MB, then click “ OK ” to save.
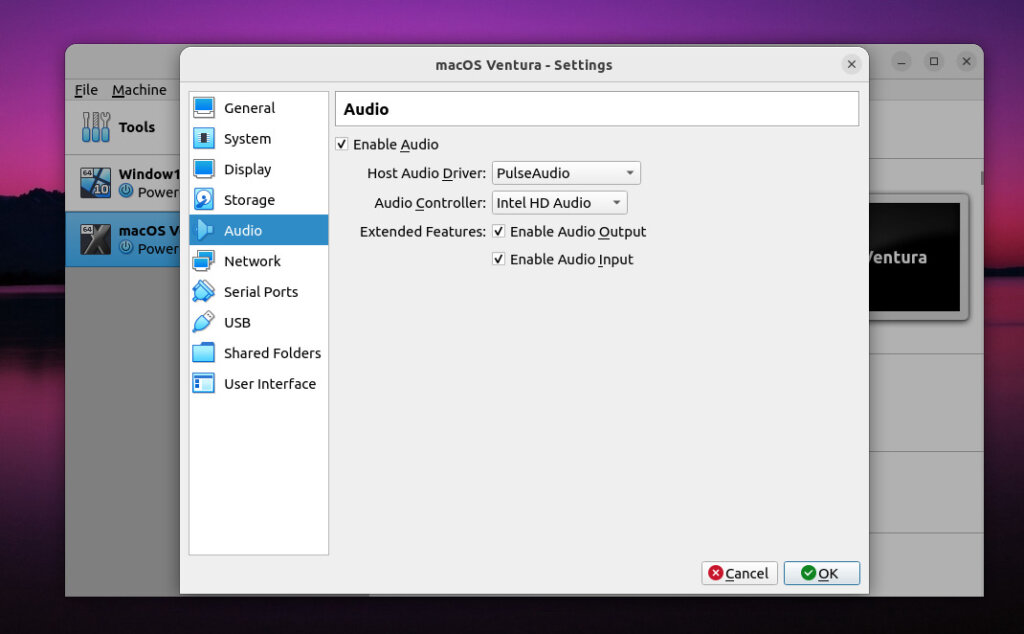
Next, go to the audio section and enable both “Audio Output” and “Audio Input”.
Step 4: Boot and Install macOS on VirtualBox
Before installing macOS on VirtualBox, open a terminal in the VirtualBox VMs folder on Ubuntu and run the following commands, ensuring VirtualBox is closed and replacing ‘VenturaOS’ with your macOS VM name.
cd /home/$USER/VirtualBox\ VMs/
VBoxManage modifyvm "VenturaOS" --cpuidset 00000001 000106e5 00100800 0098e3fd bfebfbff
VBoxManage setextradata "VenturaOS" "VBoxInternal/Devices/efi/0/Config/DmiSystemProduct" "iMac11,3"
VBoxManage setextradata "VenturaOS" "VBoxInternal/Devices/efi/0/Config/DmiSystemVersion" "1.0"
VBoxManage setextradata "VenturaOS" "VBoxInternal/Devices/efi/0/Config/DmiBoardProduct" "Iloveapple"
VBoxManage setextradata "VenturaOS" "VBoxInternal/Devices/smc/0/Config/DeviceKey" "ourhardworkbythesewordsguardedpleasedontsteal(c)AppleComputerInc"
VBoxManage setextradata "VenturaOS" "VBoxInternal/Devices/smc/0/Config/GetKeyFromRealSMC" 1
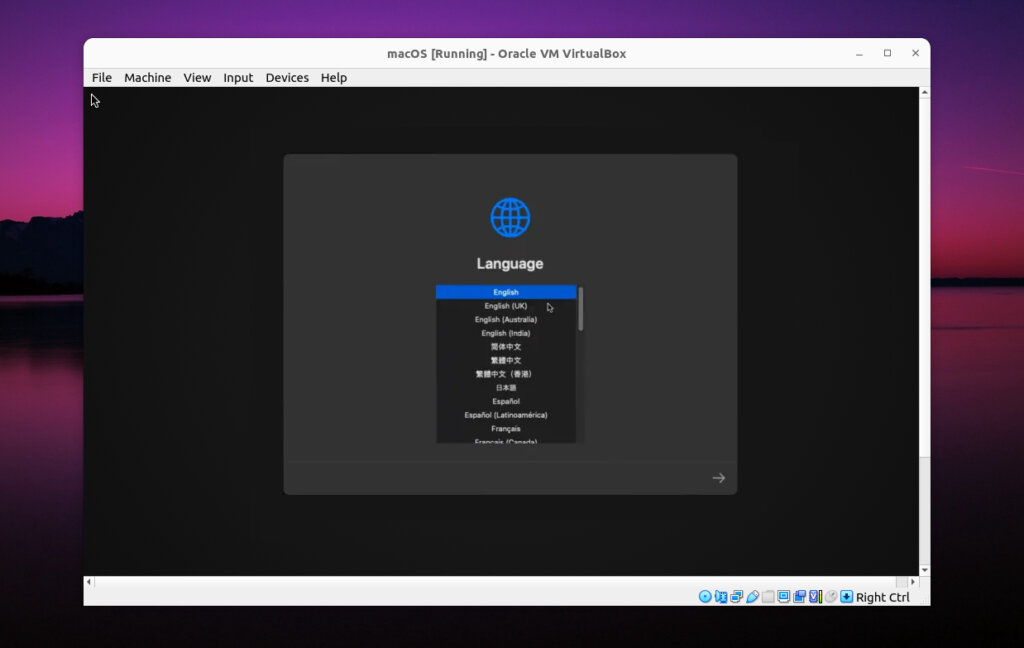
Finally, reopen VirtualBox, click the “Start” arrow to launch your macOS virtual machine, then follow the on-screen instructions to complete the macOS installation on VirtualBox for Ubuntu.
Note: When you run macOS on your PC (Ubuntu/Linux) there are many possible system configurations, but not all of them may be compatible with macOS. The ideal processor family to run macOS on Windows PCs is the 10th Gen Intel chipset. Other chipsets will probably run as well, but they may have issues with Bluetooth, Wi-Fi, and features and devices. other peripherals of the system.


